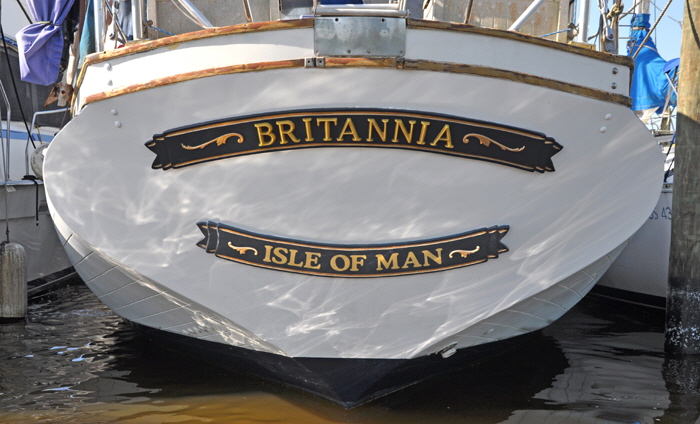
 When I bought Britannia she had a different name and was registered as an American vessel in San Diego, CA. Both boards therefore needed new letters and restoration.
The original name and port-of-call were simply white vinyl letters stuck on the blue painted boards. I sanded the boards with my belt sander that made short work of all the letters and smoothed out the globules of paint and varnish that had been applied over the years. I then undercoated both boards with two coats of two-part epoxy primer from Jamestown Distributors Total Boat range, (www.Jamestowndistributors.com), rubbing down between coats with 120 grit sandpaper. I then rolled three coats of Total Boat Flag Blue on each board, again rubbing down between coats and finishing with 250 grit, that produced a glass like hard finish.
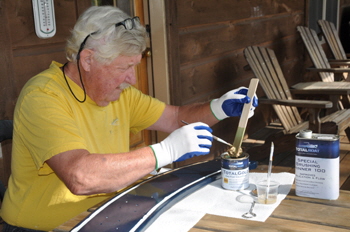
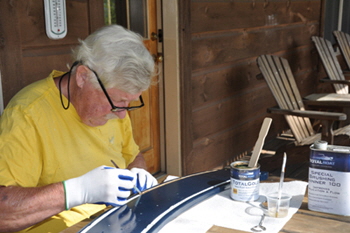 Both boards had a ½” inch wide cove stripe inlay along the top and bottom, that I carefully painted with Total Boat metallic gold paint. This actually contains copper dust to give it its gold color, and the heavier metal always sinks to the bottom of the tin. Rather than stirring the paint with a wooden stirrer I wetted my inch brush from the thicker paint in the bottom of the tin, using the stirrer. This gave me more gold on the brush, but it still took four coats to produce the simulated gold leaf effect I wanted, that was very striking against the dark blue background. Finally I painted two coats of Total Boat clear varnish over the whole board, that further increased the shine of the gold paint.
 For the actual name Britannia I purchased nine gold colored 4” inch molded acrylic letters from www.buysignletters.com. At $12.00 each they were not cheap, but the gold color is impregnated into the acrylic molding and I was assured they will never tarnish. I ordered my letters to be fitted with threaded nylon bushes in the back of each letter to enable them to be fastened through the boards with 3/16” inch stainless steel set screws. The company offer other methods of fixing the letters to any type of transom or board. There is stud mounting, wire mounting, flange mounting and outside brackets.
 As an added adornment I bought a set of four ornamental appliqués for $16.65 from the Home Depot website. The two larger scrolls were for the name board and the smaller ones for the port-of-call board. They are made from 1/4” inch thick plywood, so they had to be thoroughly waterproof sealed first with epoxy undercoat, then gold painted before being glued to the boards with epoxy adhesive.
For the port-of-call I had nine 3” inch letters cut from self adhesive gold vinyl by a local sign shop. These were only $35.10 for the whole lot and the same typeface as the name letters. The sign shop also stuck them down precisely on the curved board, since I was doubtful I could do it with the same accuracy. Both boards were then ready to fasten back to the transom. I coated the backs with a liberal covering of Total Boat SEAL caulk, that also sealed the screws, and by the way, it is half the price of 3M caulking
When both boards were screwed tightly back where they came from, there remained a total of 29 screw heads to be filled in and smoothed into the cove stripes, then painted over with gold.
The teak trim stretching all the way across the transom was stripped of all the eroded varnish, down to the bear teak, then painted with two coats of primer and three coats of gold paint. I am a believer in “Not spoiling the ship for two pennyworth of tar.”
