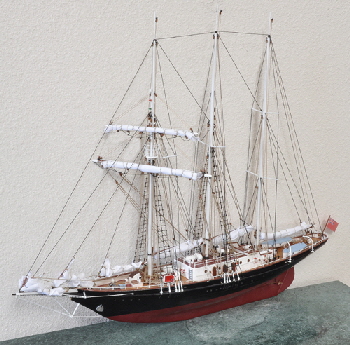
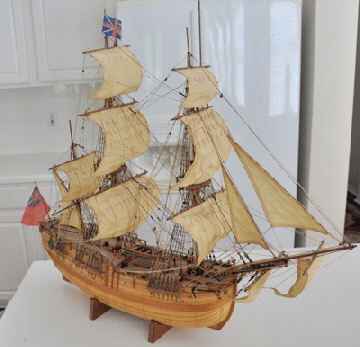
 I have always been a model maker, ever since being an active member of my school model flying club. I always found model making to be therapeutic, even when the rubber band powered Spitfire that had taken hours to perfect, smashed into the sides of the gym wall. Later I built a few showcase ship models: Capt Cook's Endeavour, and the sail training ship Sir Winston Churchill, that I actually sailed on as an instructor. I also made a half deck model of Nelson’s Flagship Victory, both of which are now hanging in the saloon of my own schooner Britannia.
It had intrigued me for some time whether I could build a radio controlled model sailboat that performed like the real thing. After all what father doesn't want to sail a little boat on the local pond, with his children?
The multi-channel radio control equipment was readily available, but the thought of building a boat from scratch that was big enough to accommodate it all was a bit daunting. So when I found a large scale kit, (1:15) of a Colin Archer yawl with a ready made plastic hull and all fittings I bought it, even though it was $550. Colin Archer was a Scottish born Norwegian marine architect, who seemed to like boats with canoe sterns called “double-enders.” With their immensely long bowsprit retracted, that was designed to retract on deck, it was difficult to know the bow from the stern. This particular boat was used as a fishing fleet support vessel, and the original is in the Norwegian Maritime 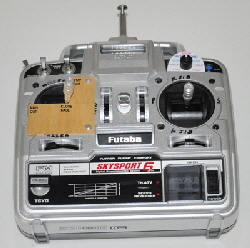 Museum in Oslo, Norway.
Before even beginning to build the boat I spent a lot of time at my local model shop, and on the Internet, considering radio control equipment. Unfortunately nobody had built a sailboat at my local shop, they were mostly speedboat enthusiasts. I searched the web, then went back to the shop and came out with an eight channel radio controller, a relay, receiver, batteries, servos and winch drums, all to the tune of $1200. This was going to be some model boat!
CONSTRUCTION:
 The term “kit” is misleading for this model because apart from a few pre-shaped items like the hull and bulkheads, it consists of a pile of wood, and not very informative instructions either. It was a good job I was a pretty skilled model maker, but not withradio controlled sailboats.
Just like on a full size boat, the first stage was to install the ballast into the hull, but how much? The model was one fifteenth the scale of the original, but ballast ratios don't scale down like that, and there was nothing in the instructions. I could only think of one way to ballast her to the waterline shown. I bought a 5 Lb coil of lead from a local surplus store, and cut it into 2” inch wide by 12” Inch long strips, then laid them in the bottom of the hull, placing the 3 Lb battery on top. I then filled our bath tub with water and lowered the hull in to see how it floated, only to find she was hopelessly high. I bought another 15 lbs of lead, then kept loading it into the floating hull until it sat approximately on the waterline. I then placed all the radio control equipment on top, along with other bits and pieces, deck timbers, masts, and even the sailcloth. When I reached the correct waterline it had swallowed about 30 lbs of lead. (the finished model weighs 45 lbs). I then sealed the ballast with epoxy resin and built a floor for the battery to sit on. The model draws 6” inches, equivalent to 7’ feet 6” inches in scale, and the real boat actually draws 7’ feet 3” inches
I then glued the bulkheads into the hull with epoxy, along with the motor mount and stern tube. The electric motor, that I had to buy separately, was then bolted to its mount. The prop-shaft tube had to be drilled by eye with an electric drill, straight through the deadwood, to come out inside the hull level with the electric motor spindle. I placed the hull upside down on a table and had my wife hold it steady while I placed a series of different thickness books on the table to act as a guide to support the drill. I used a straight edge to guess the correct angle then slowly drilled a 1/4” inch hole through the hull. I only had to shim the motor 1/16” inch to mate the prop shaft precisely to the engine. The motor was then screwed to its mounts and the shaft connected with a universal coupling, with an O ring as a stuffing box to keep the water out.
It was easier to position all the radio control equipment, before laying the deck. These were principally the steering servo, the receiver, and three winches that would control the jib, staysail, mainsail and mizzen. The continuous coil drum winches were positioned forward, and as a winch rotates the continuous sheet is pulled in one side and let out the other, hauling the sail from one tack to the other.
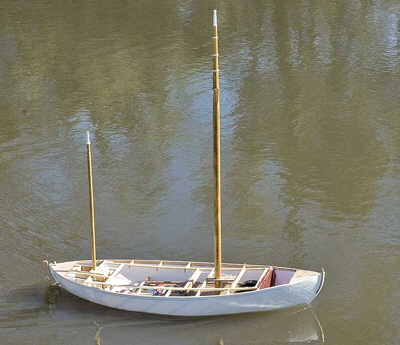 The masts and booms consisted of two unshaped wooden dowels, that I had to somehow taper, but I didn't have a lathe or any way to spin them. There was nothing to do but to shape them by hand with my plane, then round the surface with sandpaper. I did the same for the long bowsprit.
Having installed and connected all the controls and the steering quadrant, I decided to test the boat “at sea” under engine power, before laying the deck. There is a lake behind my house in South Orlando, Florida, that would seem at first sight to be ideal for testing model boats, except for one slight problem. It has a resident alligator, and I had absolutely no idea how the beast might react to having an intruder in its ‘loch.’ However, the test went without interruption and the engine drove the boat along at a brisk walking pace.
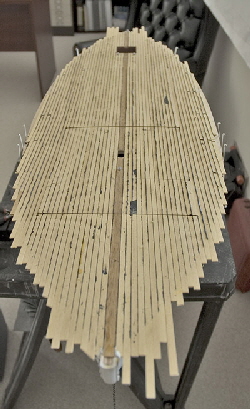 Back in dry dock I fitted the deck beams, then glued separate planks over the plywood deck, caulking them individually with real bitumen caulk, just like the real boat.
With the masts in place the boat was 56” inches tall, so in order to be transportable both masts had to be removable. I made them keel-stepped and the rope rigging actually hooked to the dead eyes, so that both masts can be lifted out of the deck.
The sail cloth supplied was white, but I wanted tanbark sails like the real boat, so I boiled the cloth in water with ten teabags that stained it perfectly. The sail patterns were then delivered to a seamstress friend who worked in the Walt Disney costume department, near where I live, and who did an absolutely superb job of double stitching them to simulate individual panels. The sails are hanked on and the halyards run through sheaves down to belaying pins. All the tiny blocks through which the lines run actually have rotating sheaves. The tops’l is located in pintles and can be removed for transportation and if the wind is too strong.
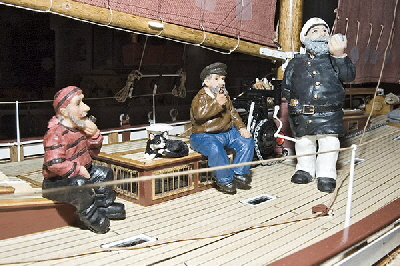 As the model came near to completion I was asked, “Shouldn't there be a crew?” This simple question set me on a fruitless search for sailor figurines. I could easily have crewed her with American Civil War soldiers, cowboys on horseback or World War II soldiers, but no sailors… I worried the boat would remain crewless until someone suggested I try “The Dolls House.” in Orlando. Well, there is a Dolls House in the red light area, but I was pretty sure they wouldn't sell model boat sailors… The name I should have been given was Ron’s Dolls house miniature, which is an amazingly magical emporium of dolls house furniture. I was still not at all hopeful for my specific requirement. “Yes, we sure do,” replied the assistant to my question, and I could hardly believe my eyes when she slid open a drawer full of sailing figurines of all shapes and sizes. There were naval officers, pirates and even ships cats. I came out with a Captain, three crew and two cats, all very close to scale size. They certainly do add a certain savoir faire, especially the captain as he studies the set of his jib. As a final touch I had also fitted working navigation and cabin lights, that shine through the cabin windows. I also have a spare unused radio channel and wonder to what use it might be put?
SAILING
As with all boats, models or full size, there comes a time for the maiden launch. I first pre-tested all the electronics, the steering, sheet winches and motor, then gently lowered “The Old Gaffer,” as I had christened her, into the water. The breeze, perhaps a real force 3 created slight ripples on the water, and I had no idea if this would be too much or too little for my little boat.
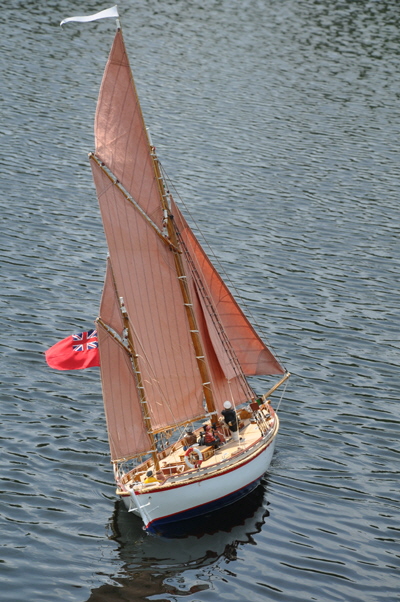
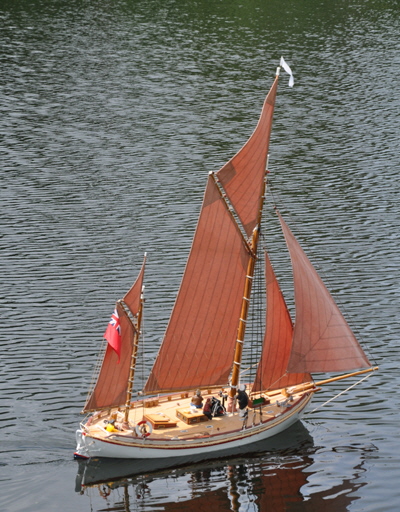 I eased the sheets until the sails shook and started the motor to power Gaffer away from the shore on a broad reach. It was a little scary to shut down the motor as I slowly hauled in the sails, until she healed, ever so slightly, and began to actually move. It was an emotional moment, seeing her under sail for the first time. As I slowly sheeted the sails home, she healed more and started to move quickly, and suddenly a rather disturbing thought struck me. I had no idea what the actual radio control range was, and had never though to test it? The lake was quite large and I had visions of her sailing into the reeds on the other side, if I lost control. Gaffer needed to be brought about now! I eased the tiller control to starboard and as she swung into wind I tacked the jib, and within seconds she was returning home, having made a flawless turn. Whew! I docked her on the shore and walked the length of the lake, to find that I still had operational control, that was a great relief to know.
Since that first intrepid trial I have learned to handle the boat on any point of sailing, including goose-winged and hard on the wind in quite big seas—well, at least three inches! Gaffer is a delight to sail and handles just like a real sailboat. When the wind gets up I ship the tops’l and she behaves handily under gaff main, mizzen and jib. I hardly ever use the motor now, but it might be needed if our resident alligator ever shows his annoyance, which he has not done – so far.
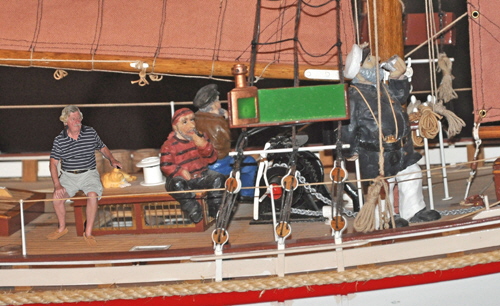 Gaffer took me a year to build and cost a small fortune, but even years later I still take her out for a spin occasionally, when she causes a lot of attention and photographing. A little bit of fun I have on our local lake, (not the one where she was christened), is to hide in an inconspicuous spot and control Gaffer, while watching passers by looking amazed who is sailing this beautiful boat. Perhaps it really is that helmsman sitting at the wheel.
When on a sailboat delivery to the Mediterranean a few years ago, I called in at Gibraltar and in the marina was a real Colin Archer, called “Capricornus” from Stavanger, Norway. I would have loved to talk to the owner, but he was not aboard and the boat was obviously laid up. Perhaps he might also have liked to talk to me, because I already knew his boat intimately.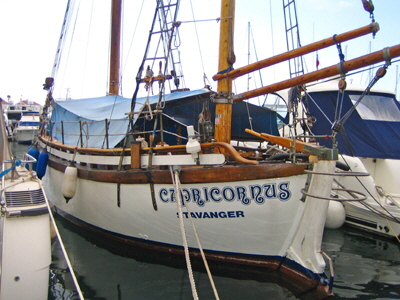
Specifications:
Length overall: 49” inches
Beam: 13” inches.
Draft: 6” inches
Mainmast height: 56” inches.
Sail area: 900 square inches
Weight: 45 lbs
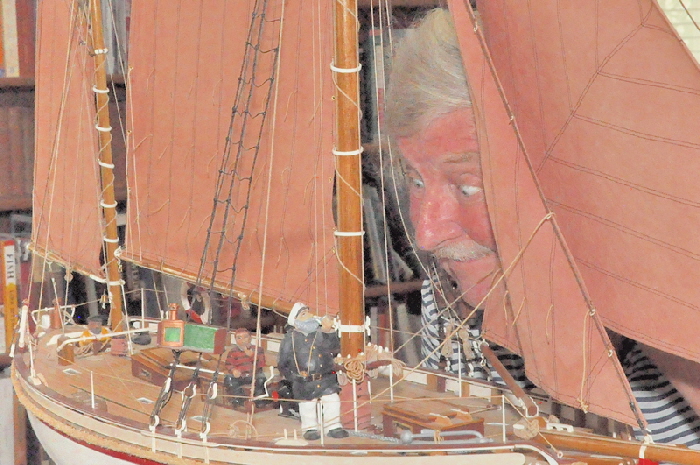
A “proper” model boat